Stay Up To Date With Slidebuys
Get in-store discounts, giveaways, tips, and useful advice by joining our Slide buys customer rewards & newsletter for free.
[yikes-mailchimp form="1"]
Use this ski jacket layering guide to choose warm, dry, flexible layers for first turns, snowplay and changing Mt Ruapehu conditions with full confidence.
A great day at Whakapapa starts with feeling comfortable enough to focus on the fun – your first turns in Happy Valley, a sledding session with the kids, or a ride on the SkyWaka. This ski jacket layering guide explains how to build warmth around your jacket so you can adjust easily for Mt Ruapehu’s changeable alpine conditions.
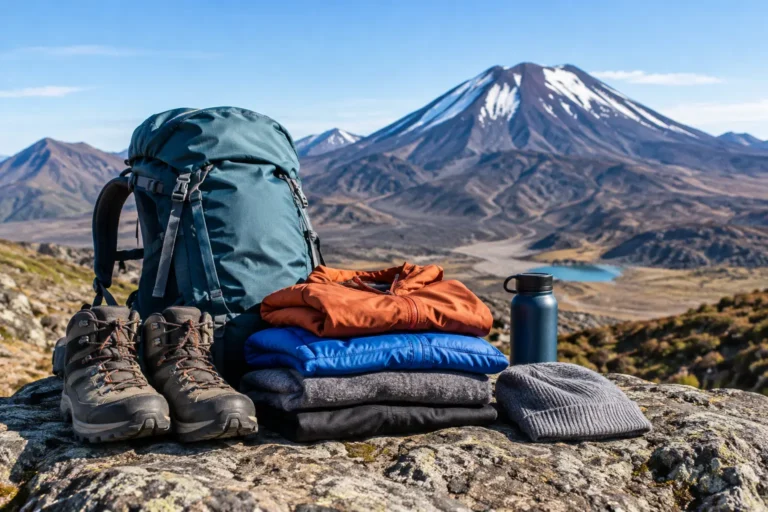
The simple idea is to wear several lighter layers rather than one very heavy item. Each layer has a job: move moisture away from your skin, hold warm air close to your body, and block wind, snow and rain. Get those jobs right and you can add or remove a layer as the day, weather and activity level change.
Your base layer is the foundation. It sits directly against your skin and should feel comfortable, close-fitting and breathable. Merino wool and synthetic thermal tops and leggings are both excellent choices for skiing and snowplay because they move perspiration away from the body rather than soaking it up.
Merino is a popular option for visitors who feel the cold easily. It is soft, naturally odour-resistant and remains comfortable across a wide range of temperatures. Synthetic thermals dry quickly and are often a good choice for active skiers and snowboarders who expect to work up a sweat learning, lapping the beginner area or carrying gear between the car park and the snow.
Avoid cotton T-shirts, cotton leggings and denim. Cotton can feel fine when you first get dressed, but it holds moisture once damp and loses much of its insulating value. A proper thermal does not need to be bulky. A thinner, well-fitted layer is generally more useful than a thick item that bunches under your ski jacket.
For most first-time visitors, a long-sleeve thermal top, thermal leggings and ski socks are the right starting point. Keep your spare clothes for the drive home rather than wearing every warm item you own underneath your snow gear.
The mid-layer is your adjustable insulation. Its role is to trap body heat without making movement difficult. A fleece, light puffer jacket or insulated synthetic top all work well here.
For a calm day spent mainly skiing in Happy Valley, a medium-weight fleece under an insulated ski jacket is often enough. If you are sightseeing, taking photos or supervising children in the snow, you may spend more time standing still. In that case, a warmer fleece or light puffer can make the day more enjoyable.
There is a trade-off. A very thick puffer may be warm while you are waiting for a lift, but it can be restrictive under a fitted jacket and too hot once you start skiing. It is usually better to choose a packable light puffer or fleece that can be removed and carried if needed.
A hoodie can work as a mid-layer if it is made from fleece or another quick-drying fabric, although hoods and bulky pockets can feel uncomfortable beneath a jacket. For the easiest fit, choose a simple zip-up fleece or insulated top with a smooth collar.
Your layering needs depend on what you will be doing, not just the temperature on a weather app. A beginner practising turns will generate more heat than a sightseer enjoying the gondola. Children can go from racing around to sitting in the snow very quickly, so it is useful to have an extra warm layer available for them.
Mt Ruapehu weather can also feel different from the village. Wind increases the chill, cloud can reduce the warmth of the sun, and wet snow calls for dependable waterproof outerwear. Check the forecast before leaving, then take one adaptable layer in your day bag or car. That small bit of preparation gives you options without overcomplicating the morning.
The outer layer is your ski jacket and ski pants. This is what keeps snow, wind and moisture away from the warmer layers underneath. A good ski jacket should be waterproof or highly water-resistant, windproof and roomy enough for a thermal and mid-layer without feeling loose or restrictive.
For snowplay and first lessons, an insulated ski jacket is the straightforward option. It combines weather protection and built-in warmth, so many people only need a thermal and a light fleece underneath. This is particularly practical for those hiring gear for a first snow trip.
A shell jacket has little or no insulation. It is a flexible choice for experienced skiers, boarders and anyone who runs warm, because you can control warmth through the layers underneath. On a mild, active day, a thermal plus shell may be comfortable. On a colder or windier day, add fleece or a light puffer.
Whichever style you wear, test the fit before heading out. Zip it fully, lift your arms, bend your knees and pretend to hold ski poles. The jacket should cover your lower back, the cuffs should sit comfortably over gloves, and the collar should protect your neck without rubbing your chin. A jacket that is too tight compresses insulation and makes it harder to move.
Ski pants matter just as much as the jacket, especially for beginners who may spend time sitting or kneeling in the snow. Waterproof ski pants over thermal leggings are far more comfortable than track pants or jeans. Bib pants provide extra coverage around the waist, while standard ski pants can be easier for toilet breaks with younger children.
Warm layers work best when the smaller essentials are sorted too. Your body loses heat quickly through exposed areas, and cold hands or wet feet can shorten an otherwise excellent day.
Choose waterproof ski gloves or mittens rather than knitted gloves. Mittens are often warmer for children and anyone prone to cold fingers, while gloves offer a little more dexterity for handling zips and ski bindings. A neck warmer or buff is more practical than a long scarf, which can get caught or become wet. A thin beanie is useful around the village and car park, though a helmet will replace it once you are skiing or snowboarding.
For feet, wear one pair of ski socks, preferably a technical or merino pair that comes up above the top of your ski boots. Two pairs of socks might sound warmer, but they can crowd the boot, restrict circulation and create pressure points. Well-fitted ski boots with dry socks are a better path to warm feet than adding bulk.
Goggles are also part of staying comfortable. They protect your eyes from wind, snow and bright reflected light, which makes learning easier when the weather closes in or the sun comes out.
For many visitors, the most reliable starting combination is a thermal top and leggings, fleece mid-layer, waterproof insulated ski jacket and pants, plus ski socks, waterproof gloves, goggles and a helmet. Adjust from there based on the forecast and how warm you usually feel.
If the day is bright and you are skiing actively, you may only need a thin thermal beneath your jacket. If it is cold, windy or you will be outside for long periods watching children, add the fleece and keep a light puffer handy. Layering is not about wearing the maximum amount of clothing – it is about having the right amount for the conditions and being able to change it.
If you are hiring outerwear and snow gear, local staff can help check that your jacket, pants and boots have enough room for your layers. At The Alpine Centre, that fit check is especially helpful for first-time visitors who are working out what snow clothing should feel like before heading up the mountain.
Pack a dry change of socks and a spare top for the end of the day, then keep your on-snow layers simple, comfortable and easy to move in. When you feel warm, dry and unrestricted, there is more time for the good part: enjoying the mountain.