Stay Up To Date With Slidebuys
Get in-store discounts, giveaways, tips, and useful advice by joining our Slide buys customer rewards & newsletter for free.
[yikes-mailchimp form="1"]
Plan a smoother mountain day with this Mt Ruapehu road access guide, covering weather checks, chains, parking, timing and practical winter driving advice.
A good Mt Ruapehu road access guide starts with one simple idea: getting to the mountain is part of the day’s adventure. With the right timing, suitable vehicle and a quick check of current conditions, the drive up can be an easy and memorable start to skiing, snowboarding, sightseeing or snowplay.
Mt Ruapehu has two main ski area access roads. Whakapapa is reached from Bruce Road, near National Park Village, while Turoa is reached from Ohakune Mountain Road. Both climb into an alpine environment, where conditions can change quickly and road rules are set to keep visitors moving safely.
Choose your access road according to the ski area, activity and where you are staying. Visitors based in National Park Village, Whakapapa Village or travelling from the north will usually find Bruce Road the natural route to Whakapapa. It is the access point for Happy Valley, the SkyWaka Gondola and Whakapapa’s upper mountain facilities.
Ohakune is the usual base for Turoa. From town, Ohakune Mountain Road climbs towards the ski area and its base facilities. It is a scenic drive, but it is still a mountain road: steep in places, exposed to alpine weather and subject to changing restrictions in winter.
Do not assume that because one side of the mountain is clear, the other will be the same. Wind, snowfall, ice and cloud can affect Whakapapa and Turoa differently. Check the current road and mountain status for the specific ski area you plan to visit before leaving your accommodation.
The best time to check is early in the morning, then again just before you set off. Mountain weather forecasts are useful, but the ski area’s current road report is the information that matters most for access that day. It will usually advise whether the road is open, whether chains are required, whether access is limited to certain vehicles, and whether parking is available.
A road can be dry at the bottom and snowy or icy higher up. Fresh snow is exciting, but it may also mean chain controls, slower traffic and delays while road crews clear the route. Wind can have an impact too, particularly around exposed sections and upper parking areas.
Give yourself flexibility. If you have booked a lesson, rental collection or a gondola time, aim to be ready early enough that a slower drive does not turn into a rushed start. On busy winter weekends and school holidays, early travel also gives you a better chance of parking closer to the base area.
When chain controls are in place, they are a condition of access, not a suggestion. You may be required to carry chains, fit them at a designated area, or use them for the full upper section of the road. Requirements depend on the conditions and your vehicle, so read the day’s notice carefully.
Four-wheel drive and all-wheel drive vehicles can be helpful, but they are not automatically exempt from chain requirements. The deciding factor is the road status on the day. A capable vehicle still needs suitable tyres, a careful driver and enough room to stop safely.
If you have not fitted chains before, practise at home on dry ground. It is much easier to understand the process while your hands are warm and there is space around the vehicle. Make sure the chains match your tyre size and follow the manufacturer’s fitting guidance. After a short drive, check their tension again.
At The Alpine Centre, visitors can sort snow chains alongside their hire gear and get practical local advice before heading uphill. That is particularly useful for first-time snow visitors who would rather not make decisions about chains from a crowded roadside bay.
A mountain-ready vehicle is not about having the biggest ute or the newest SUV. It is about basic maintenance and setting up for the conditions. Before heading up, check that your tyres have sound tread and correct pressure, your lights work, and your windscreen washer bottle is full. Keep the fuel tank well above empty, as cold conditions and slow-moving traffic use more fuel than expected.
Clear all snow and ice from the windscreen, windows, mirrors, roof and lights before driving. Snow sliding from the roof onto the windscreen can suddenly remove your view. Use demisters early and keep the windscreen clear rather than waiting for fogging to build up.
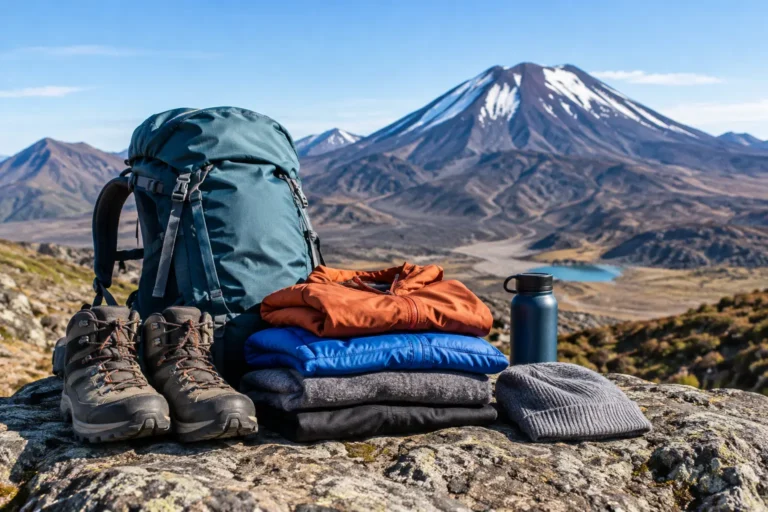
Pack warm layers, water and snacks in the car, even if you are only planning a short drive to the ski area. This is sensible preparation for a family day out and useful if traffic is held while conditions are assessed. Keep wet gear in a bag for the return trip, and bring a dry pair of socks for the drive home. Little comforts make a noticeable difference after a day in snow.
Avoid relying solely on your mobile for navigation and updates. Coverage can vary in alpine areas, and cold weather drains batteries quickly. Charge your phone fully, carry a power bank if you have one, and let someone know your general plans if you are travelling independently.
Both roads reward patient driving. Stay within the posted speed limit, leave a generous gap to the vehicle in front and make all steering, braking and acceleration movements gently. Sudden inputs are what make a slippery surface difficult to manage.
Use a low gear on descents where appropriate, particularly when the road is wet, snowy or icy. This helps control speed without constant heavy braking. Do not stop on blind corners, narrow sections or in a live traffic lane to take photos, fit clothing or decide what to do next. Use designated pull-over areas and chain-fitting bays.
Follow instructions from road staff and traffic management personnel straight away. They have the clearest view of parking capacity, hazards and the conditions higher up the road. If they ask you to fit chains, turn around or wait, it is to keep access working for everyone.
For first-time snow drivers, the trade-off is simple: taking an extra few minutes is far better than trying to keep pace with a more experienced driver. Let faster traffic pass safely when there is a suitable place to do so, and concentrate on smooth, predictable driving.
Parking arrangements can change with snow depth, demand and operations. Follow signs on arrival and park only in marked areas. A clear access lane is essential for buses, emergency vehicles, snow clearing and other visitors.
On high-demand days, mountain parking may fill early. This does not mean the day is over, but it can mean a longer wait, a lower parking area or a need to use available transport options. Check the day’s access information before leaving, especially if your group includes young children, beginners with lesson times or sightseers with a planned gondola visit.
If you are dropping someone off, do it only where permitted. Unplanned stops near base buildings create congestion quickly, particularly when people are unloading skis, prams, bags and excited children.
Winter is the season when road access needs the most attention. From roughly June to October, snow and ice may affect either access road, and chain controls are common when conditions demand them. Even on a bluebird morning, the trip down can be different once afternoon shade reaches the road, so check conditions again before leaving the ski area.
Summer access is generally more straightforward, but alpine roads still deserve respect. Weather can bring rain, low cloud and strong wind, while busy holiday periods can affect parking. If you are heading up for sightseeing, walking or simply enjoying the mountain views, carry a warm layer and check operational updates before travelling. Ruapehu does not need to be snow-covered to be cold.
For Tongariro National Park visitors, remember that a Mt Ruapehu access road is not the route to every walk or activity in the region. Confirm the correct trailhead, shuttle meeting point or bike trail access before leaving town. Starting from the right place is one of the easiest ways to keep a great outdoor day running smoothly.
Before you turn towards the mountain, make sure you have checked the current road report, packed or fitted correctly sized chains if required, filled the vehicle with fuel, dressed everyone for the conditions and allowed extra time for the drive. If you are hiring snow gear, collect it early enough to adjust boots, helmets and outerwear without rushing.
The road to Ruapehu is part of what makes a mountain day feel special: forest gives way to volcanic landscape, the air sharpens, and the snowline appears ahead. Prepare well, follow the current advice and give yourself time to enjoy the trip as much as the time on the mountain.